Hands-on Website CSR React + Vite + TS
Create a React + Vite + TS app, build and serve it, then write a Dockerfile and .dockerignore and build the image.
- series
- Docker Workshop
- episode
- ตอนที่ 5 จาก 17
- read
- อ่าน 6 นาที
Create React App on Vite
ในที่นี้ผมจะใช้ bun นะ
bun create viteแต่ว่าเราจะใช้อะไรก็แล้วแต่สะดวกได้เลย ถ้าอยากใช้คำสั่งอื่นไปดูได้ที่ ตรงนี้
$ npm create vite@latest$ yarn create vite$ pnpm create vite$ bun create viteจะได้ประมาณนี้
❯ bun create vite✔ Project name: … react✔ Select a framework: › React✔ Select a variant: › TypeScript
Scaffolding project in /Users/atiwatseenark/Desktop/react/react...
Done. Now run:
  cd react  bun install  bun run dev`
ก็ทำตามคำสั่งด้านบนต่อเลย
cd reactbun installbun run dev`จากนั้นจะได้แบบนี้
❯ bun run dev$ vitePort 5173 is in use, trying another one...
  VITE v5.3.2  ready in 304 ms
  ➜  Local:   http://localhost:5174/  ➜  Network: use --host to expose  ➜  press h + enter to show help
หน้าเวปก็จะหน้าตาประมาณนี้
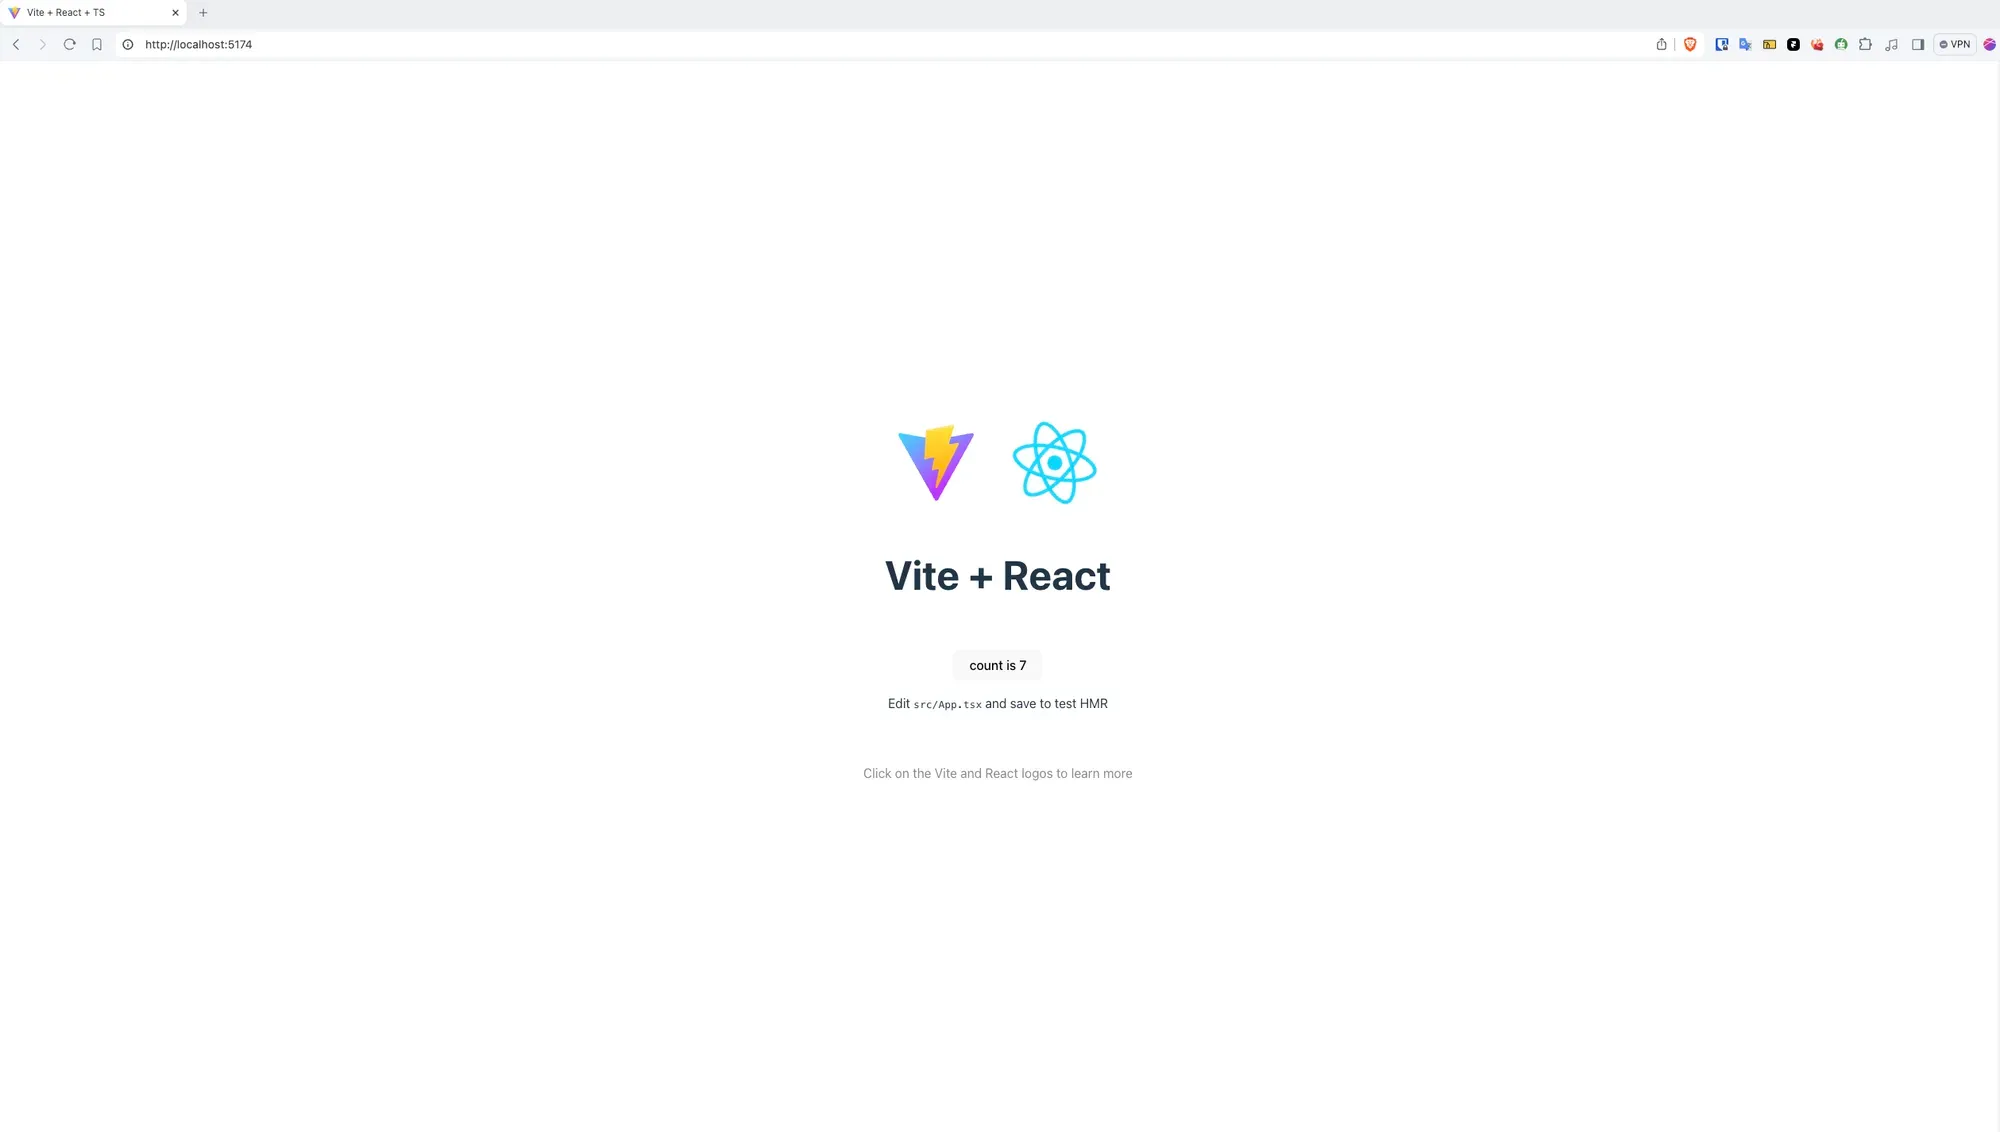
build CSR React app
❯ bun run build$ tsc -b && vite buildvite v5.3.2 building for production...✓ 34 modules transformed.dist/index.html 0.46 kB │ gzip: 0.30 kBdist/assets/react-CHdo91hT.svg 4.13 kB │ gzip: 2.14 kBdist/assets/index-DiwrgTda.css 1.39 kB │ gzip: 0.72 kBdist/assets/index-DVoHNO1Y.js 143.36 kB │ gzip: 46.07 kB✓ built in 335msตอนนี้เราน่าจะมี folder dist เพิ่มเข้ามาละ
.├── bun.lockb├── dist│ ├── assets│ ├── index.html│ └── vite.svg├── flake.lock├── flake.nix├── global.d.ts├── index.html├── package.json├── public│ └── vite.svg├── README.md├── src│ ├── App.css│ ├── App.tsx│ ├── assets│ ├── index.css│ ├── main.tsx│ └── vite-env.d.ts├── tsconfig.app.json├── tsconfig.json├── tsconfig.node.json└── vite.config.tsตรงนี้เราได้ website มาแล้ว
website ของเราที่จะทำงานได้จะอยู่ใน folder dist ทั้งหมดนี้แล้ว
แต่ถ้ามีรูปภาพด้วยก็จะมี folder public เพิ่มมาอีกอัน
serve React app
เราสามารถ host React app ของเราได้ง่ายๆผ่าน lib serve เลย
bunx serve -l 3001 distnpx serve -l 3001 distpnpx serve -l 3001 distyarn serve -l 3001 distเหมือนเดิมผมใช้ bun
❯ bunx serve -l 3001 dist
   ┌───────────────────────────────────────────┐   │                                           │   │   Serving!                                │   │                                           │   │   - Local:    http://localhost:3001       │   │   - Network:  http://192.168.1.119:3001   │   │                                           │   │   Copied local address to clipboard!      │   │                                           │   └───────────────────────────────────────────┘
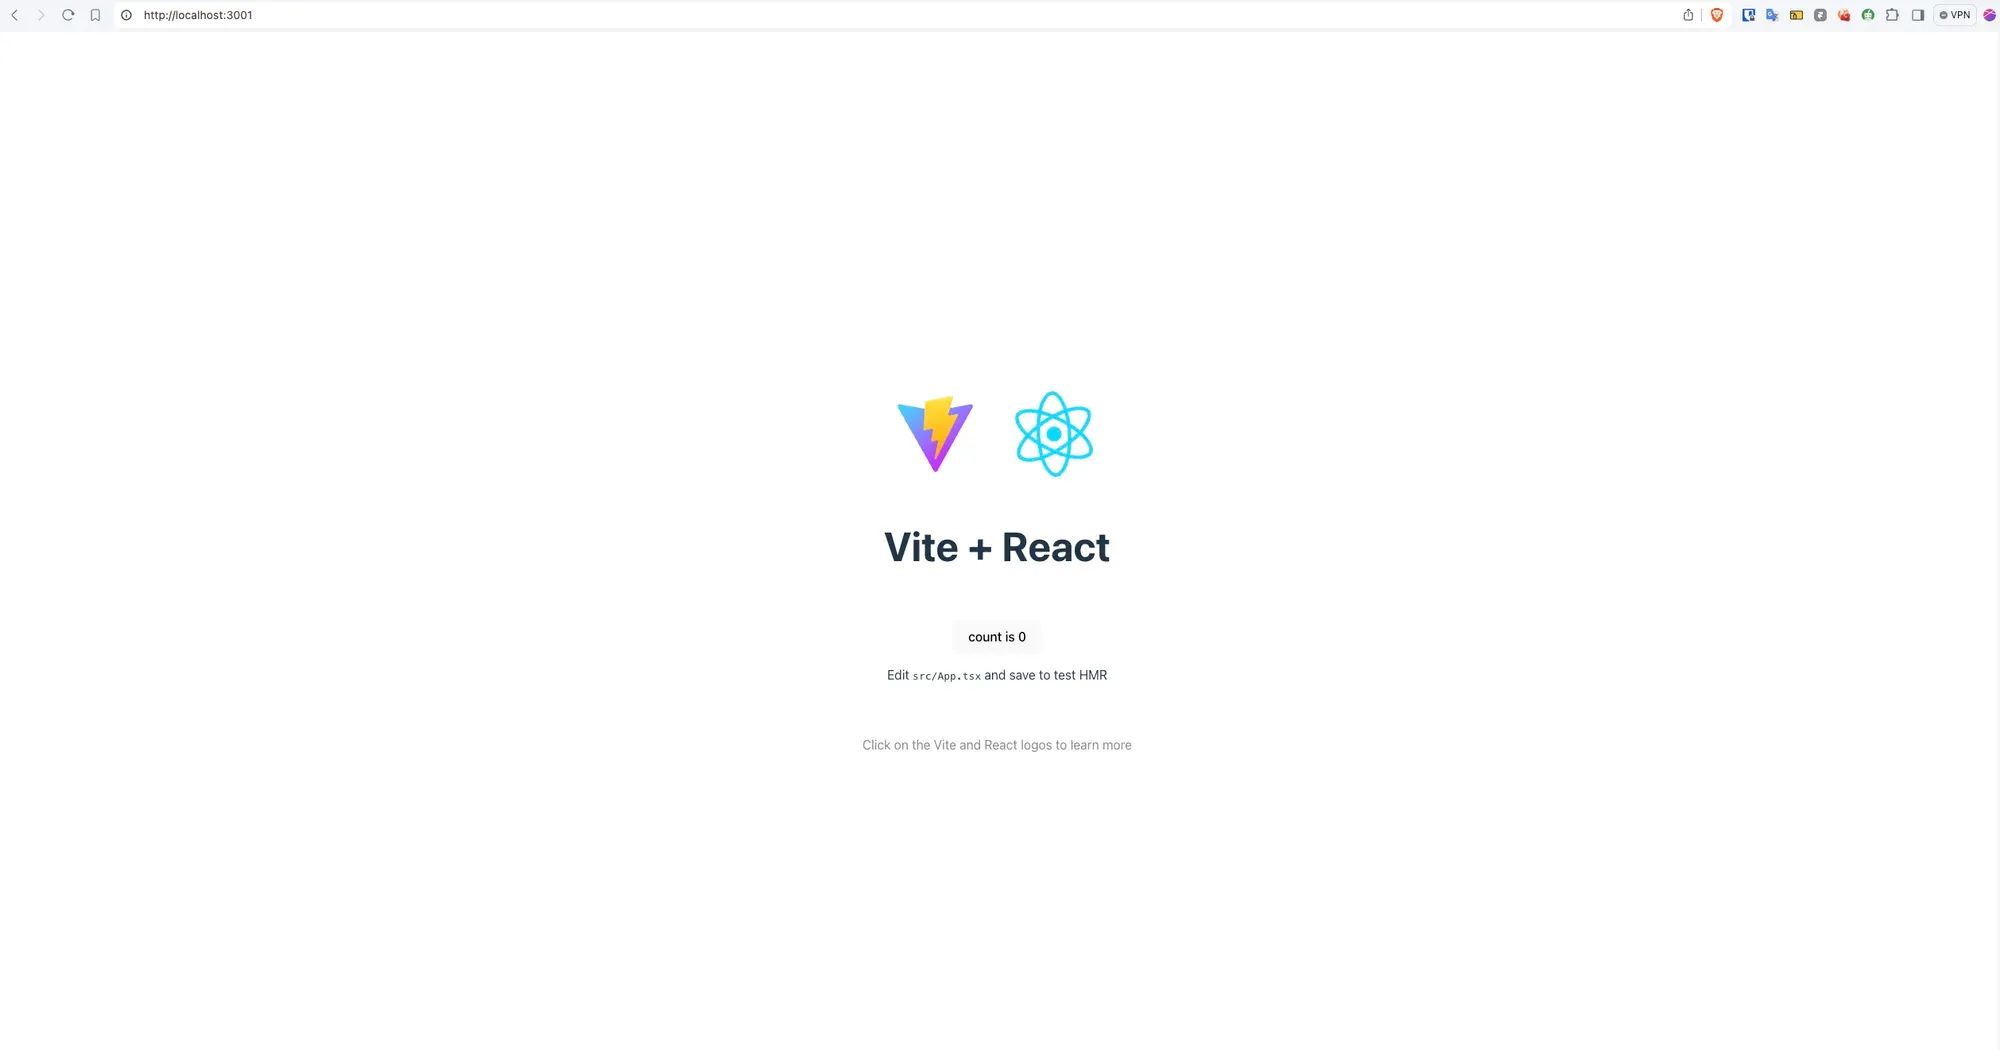
ลองเปิด browser ดู
Dockerfile
เราจะนำ React + Vite + TS ของเราไปใส่ใน docker image ซึ่งจะต้องเขียน Dockerfile เพื่อบอก docker daemon ว่าต้องทำอะไรบ้างเพื่อที่จะได้ docker image ออกมา
1. สร้าง Dockerfile
.├── bun.lockb├── dist├── Dockerfile├── flake.lock├── flake.nix├── global.d.ts├── index.html├── package.json├── public├── README.md├── src├── tsconfig.app.json├── tsconfig.json├── tsconfig.node.json└── vite.config.tsแล้วก็เขียน Dockerfile แบบนี้
FROM oven/bun
WORKDIR /app
COPY package.json .COPY bun.lockb .
RUN bun install --global serve && bun install
COPY . .RUN bun run build

ENV NODE_ENV productionCMD ["bunx","serve","-l","3001", "dist"]
EXPOSE 3001
มาดูกันว่าแต่ละส่วนคืออะไร
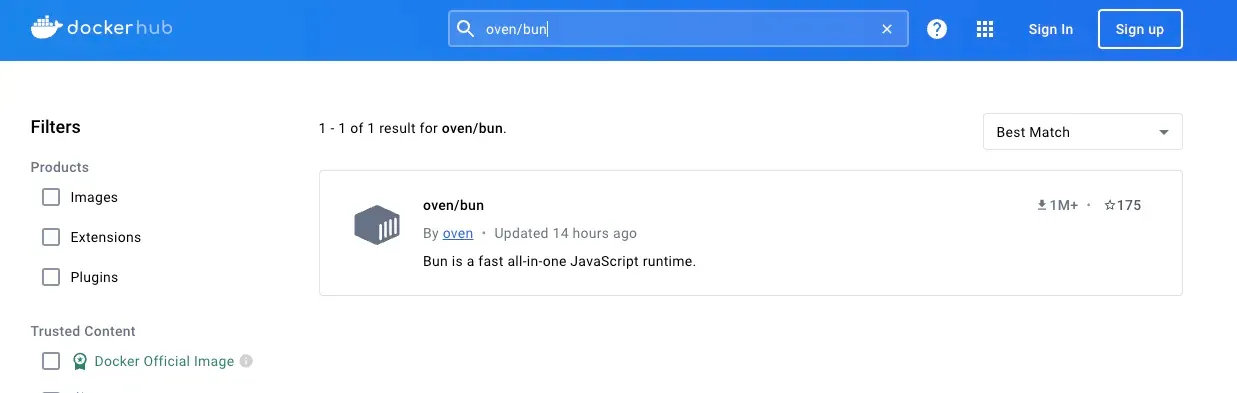
FROM <image name>คือชื่อ image ที่อยู่ใน dockerhub สำหรับ bun คือoven/bun
-
WORKDIR /appคือสร้าง folder ที่เราจะทำงานหลังจากนี้ไป เพื่อที่จะได้มี folder สำหรับ React โดยเฉพาะ ไม่ไปปนกับ OS folder อื่นๆ -
COPY <source> <destination>คือสำหรับ copy file จาก source ไป destinationการใส่ว่า
COPY package.json .หมายถึงว่า copy filepackage.jsonจาก folder บนเครื่องเรา ไปไว้ที่ folder ใน/app/package.jsonใน containerการใส่ว่า
COPY . .หมายถึงว่า copy ทุก files จาก folder บนเครื่องเรา ไปไว้ที่ folder ใน/app/ทั้งหมดเลย -
RUN <command>คือสำหรับ run command ใน shell ที่เราก็สั่งกันเป็นปกตินี่แหละ ง่ายๆ -
ENV <key>=<value>เป็นการ setup ENV เหมือนที่เราเขียนใน.envเลย -
CMD [<command1>, <command2>, ...]เป็นคำสั่งที่เราจะให้ container ไปเรียกใช้ ตอนที่เราสั่ง run container -
EXPOSE <port number>บอกว่า app ใน container นี้จะถูกเข้าถึงผ่าน port อะไร
dockerignore
การที่เรา copy ของทั้งหมดลงไปใน container มันดูทำมากเกินความจำเป็น
เช่น folder node_modules ที่เราไม่ได้ใช้ใน container
เพราะตอนเรา dev เราก็ทำบนเครื่องเรา OS ไม่เหมือนกันกับใน container ที่เป็น Linux based ซ่ะส่วนใหญ่
เราก็เลยต้องใช้ bun install ใน container เพื่อให้มันโหลด package ที่ตรงกับ OS ที่มันใช้
หรือ folder .vscode ที่เป็น config ของ vscode ซึ่งมันไม่ได้เกี่ยวข้องอะไรกับ React app เลย
แต่เราก็ไม่ได้อยากสั่ง copy files, folders เองไปทีละ file ทีละ folder
เราสามารถสร้าง file .dockerignore ขึ้นมา
แล้วก็ใส่ไฟล์ที่เราไม่ต้องการให้ docker มัน copy เข้าไปตอนที่เราสั่ง COPY ได้
วิธีการเขียนก็เหมือนกับที่เราเขียน .gitignore เลย
# Logslogs*.lognpm-debug.log*yarn-debug.log*yarn-error.log*pnpm-debug.log*lerna-debug.log*
node_modulesdistdist-ssr*.local
# Editor directories and files.vscode/*!.vscode/extensions.json.idea.DS_Store*.suo*.ntvs**.njsproj*.sln*.sw?
build docker image
แล้วก็สั่ง build docker image ด้วยคำสั่ง
docker build -t react .❯ docker build -t react .[+] Building 21.5s (13/13) FINISHED docker:orbstack=> [internal] load build definition from Dockerfile 2.4s=> => transferring dockerfile: 260B 0.0s=> [internal] load metadata for docker.io/oven/bun:lates 2.2s=> [auth] oven/bun:pull token for registry-1.docker.io 0.0s=> [internal] load .dockerignore 1.8s=> => transferring context: 295B 0.0s=> [1/7] FROM docker.io/oven/bun:latest@sha256:7b5c05b56 0.0s=> [internal] load build context 2.4s=> => transferring context: 1.29kB 0.1s=> CACHED [2/7] WORKDIR /app 0.0s=> CACHED [3/7] COPY package.json . 0.0s=> CACHED [4/7] COPY bun.lockb . 0.0s=> CACHED [5/7] RUN bun install --global serve && bun in 0.0s=> [6/7] COPY . . 4.8s=> [7/7] RUN bun run build 4.7s=> exporting to image 2.7s=> => exporting layers 2.6s=> => writing image sha256:95dbb11b995471d5693a50e59d380 0.0s=> => naming to docker.io/library/react 0.0sลอง list docker image ออกมาดู
docker image ls❯ docker image lsREPOSITORY TAG IMAGE ID CREATED SIZEreact latest c98a3bf18a20 44 years ago 373MBลองรันดู
docker run -p 3001:3001 react