23. Javascript custom Actions
Javascript custom Actions
github action สามารถใช้ Javascript ในการสร้าง action ได้ ทำให้เราเขียน custom action ได้สะดวกมากขึ้น
ถึงแม้ว่าจะใช้ Javascript ได้ แต่ว่าจะใช้ได้เฉพาะ Node.js เท่านั้นนะ ไม่สามารถใช้ Bun หรือ Deno ได้
github action ได้เตรียม library ที่เอาไว้ช่วยเราให้เขียน custom action ได้ง่ายขึ้นด้วย เรียกว่า Action Toolkit
ไปตามอ่านได้ที่ link นี้ https://github.com/actions/toolkit
ส่วนภาษาอื่นๆ ยังไม่สามารถเอามาสร้าง custom action ได้นะครับ
ตอนนี้ใช้ได้ภาษาเดียว
แต่ถ้าใครต้องการใช้ภาษาอื่นจริงๆ ยังสามารถทำได้ด้วยการใช้ custom action รันบน Docker แทนได้ ซึ่งจะเป็นหัวข้อหลังจากนี้นะ
Create custom action using Javascript
มาเริ่มกันเลย
เราจะเขียน custom action ด้วย Typescript แล้วให้ deploy React CSR ไปที่ Surge
Deploy to Surge by manual
ก่อนจะไปเริ่มเขียน custom action เราจะรู้ก่อนว่าจะ deploy ไปที่ Surge ได้ยังไง
สมัครสมาชิกกับ Surge ก่อนด้วยคำสั่ง
bun x surge loginตรวจสอบว่าใช้ account ไหนอยู่
bun x surge authให้สั่ง build
bun run buildลองสั่ง deploy
bun x surge dist gh-action-react1.surge.shทีนี้ถ้าเราจะสั่ง deploy ใน github action จะต้องมี token ด้วย
เราจะเอา token จากคำสั่งนี้
bun x surge tokenให้ copy เก็บไว้ก่อนนะ
แล้วคำสั่งที่เราจะใช้สั่งให้ deploy โดยใช้ token จะเป็นแบบนี้
npx surge <dist folder> --token <token_string> --login <email> --domain <your-domain>.surge.shสร้าง github action ด้วย TS
cd .github/actionsmkdir deploy-to-surgecd deploy-to-surgebun initrm bun.locknpm inpm i -D @actions/core @actions/github tsdownแล้วก็สร้างไฟล์ action.yaml
touch action.yamlแก้ package.json
package.json
ใส่ build script
"scripts": { "build": "./node_modules/.bin/tsdown"}สร้าง tsdown ที่เอาไว้ build .ts ไปเป็น .js
เวลา build เสร็จแล้วเราจะได้ folder dist-action
tsdown.config.ts
import { defineConfig } from "tsdown";
export default defineConfig({ entry: ["./index.ts"], outDir: "dist-action", unbundle: false, format: "esm", clean: true, minify: false, external: [],});แล้วก็เขียน config ลงใน action.yaml
จาก script ที่ใช้สั่งให้ deploy ไปที่ surge
npx surge <dist folder> --token <token_string> --login <email> --domain <your-domain>.surge.shต้องการข้อมูล 4 ตัว
- dist folder
- token
- domain
เราก็เลยจะให้คนที่เอา action นี้ไปใช้ ให้ระบุ inputs เข้ามาทั้ง 4 ตัว
action.yaml
name: Deploy to Surgedescription: Deploy to Surgeinputs: domain: required: true description: The domain to deploy to token: required: true description: The token to deploy to email: required: true description: The email to deploy to dist-folder: required: false description: The folder to deploy default: "dist"
runs: using: node24 main: dist-action/index.jsมาเขียน script กันเลย
github actions ได้เขียน library มาให้เราใช้งานได้ง่ายขึ้น มีหลายตัวมากๆ ไปดูได้ใน github toolkit นะ
index.ts
import * as core from "@actions/core";import * as exec from "@actions/exec";
async function main() { // get inputs values const domain = core.getInput("domain", { required: true, trimWhitespace: true, }); const distFolder = core.getInput("dist-folder"); const token = core.getInput("token", { required: true, trimWhitespace: true, }); const email = core.getInput("email", { required: true, trimWhitespace: true, });
const command = `npx surge ${distFolder} --token ${token} --login ${email} --domain ${domain}`;
// deploy to surge const exitCode = await exec.exec(command);
return exitCode;}
main();ตอนนี้ให้รัน build ได้เลย แล้วจะได้ folder dist-action
สร้าง workflow เพื่อเรียกใช้ custom action
workflows/deploy-surge.yaml
name: Deploy to surgeon: push: branches: - mainjobs: build: name: Build React router runs-on: ubuntu-latest steps: - name: Checkout code id: checkout uses: actions/checkout@v4 - name: Setup Bun uses: oven-sh/setup-bun@v2 id: setup-bun with: bun-version: latest - name: Install dependencies id: install run: bun install - name: Build id: build run: bun run build - name: Upload artifacts id: upload-dist uses: actions/upload-artifact@v4 with: name: dist-folder path: | dist
deploy: name: Deploy to surge needs: - build runs-on: ubuntu-latest steps: - name: Checkout code id: checkout uses: actions/checkout@v4 - name: Download build artifacts uses: actions/download-artifact@v4 with: name: dist-folder path: ./dist - name: Deploy to surge id: deploy uses: ./.github/actions/deploy-to-surge with: domain: gh-action-react1.surge.sh token: ${{ secrets.SURGE_TOKEN }} email: ${{ vars.SURGE_EMAIL }} dist-folder: ./distจาก code ด้านบน job build เราสั่งให้ build แบบปกติเลย แล้วจะได้ folder dist ก็ให้ upload ไปเก็บที่ artifact storage
ต่อมาที่ job deploy เราต้อง checkout มาก่อนด้วยนะ
เพราะว่า custom action ของเราอยู่ใน repo
แล้วก็เรียกใช้ custom action พร้อมกับระบุ inputs ให้ครบแบบ
ก่อน push code ให้ไป set variable กับ secret ด้วยนะ
variable SURGE_EMAIL
secret SURGE_TOKEN
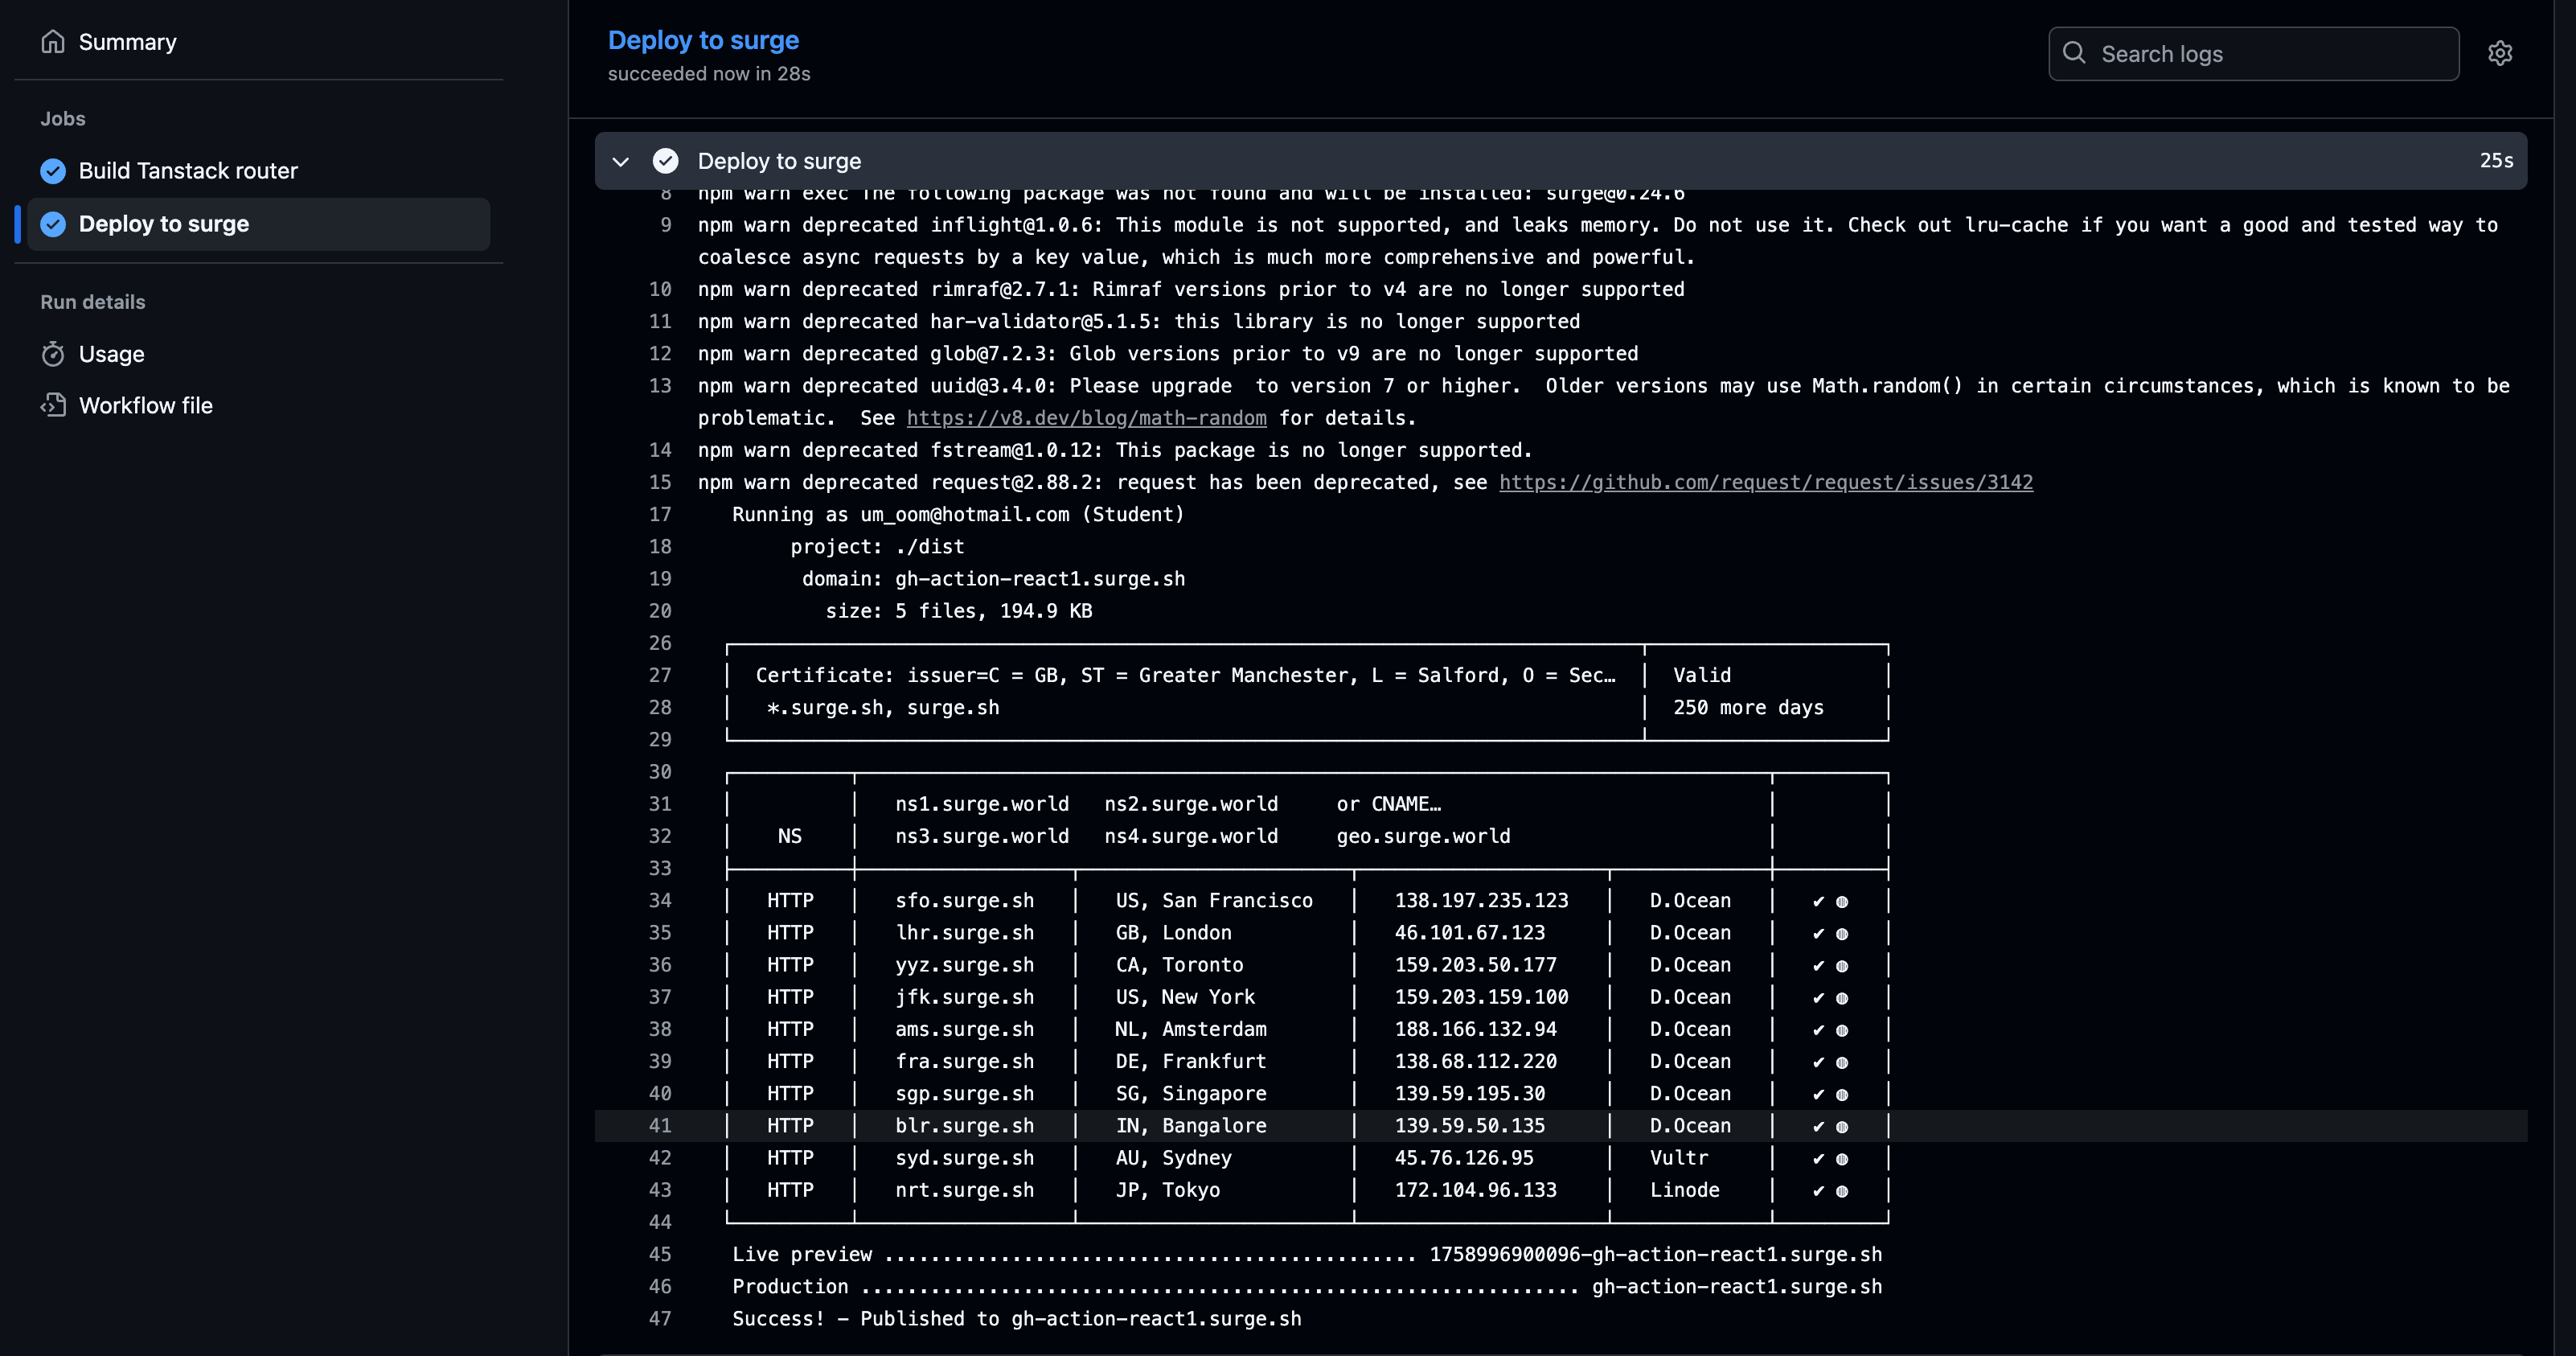
ลอง push code แล้วเปิดดูที่หน้าเว็ป